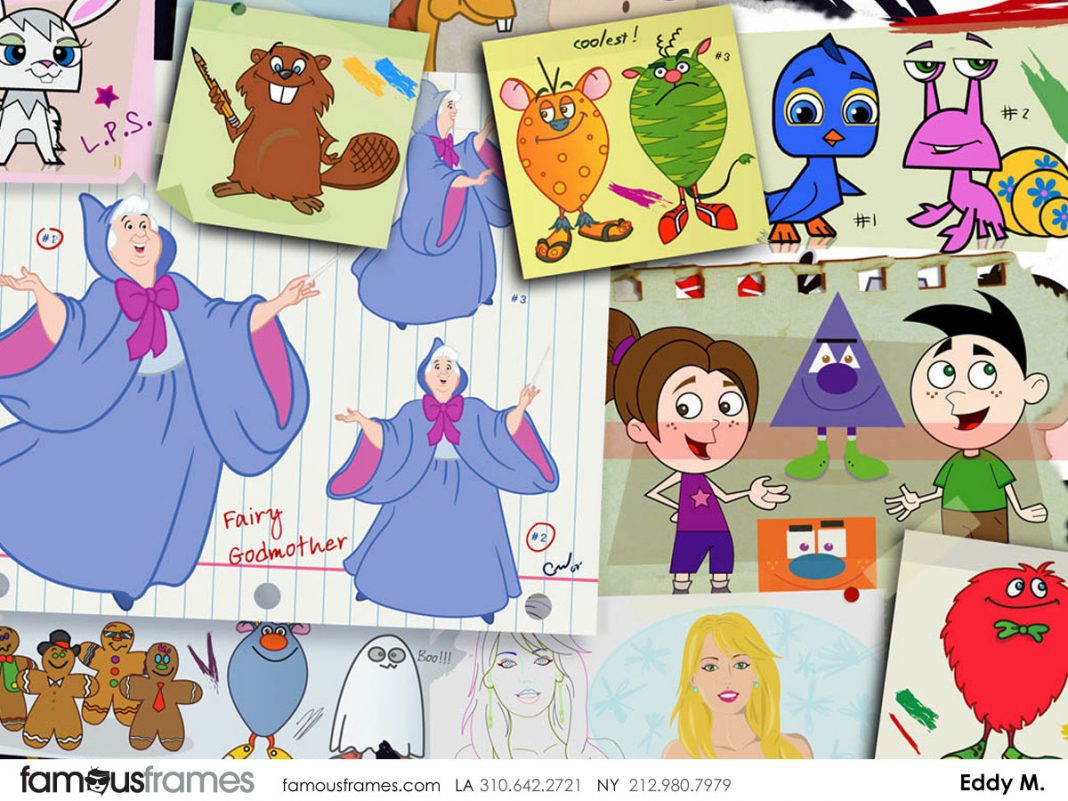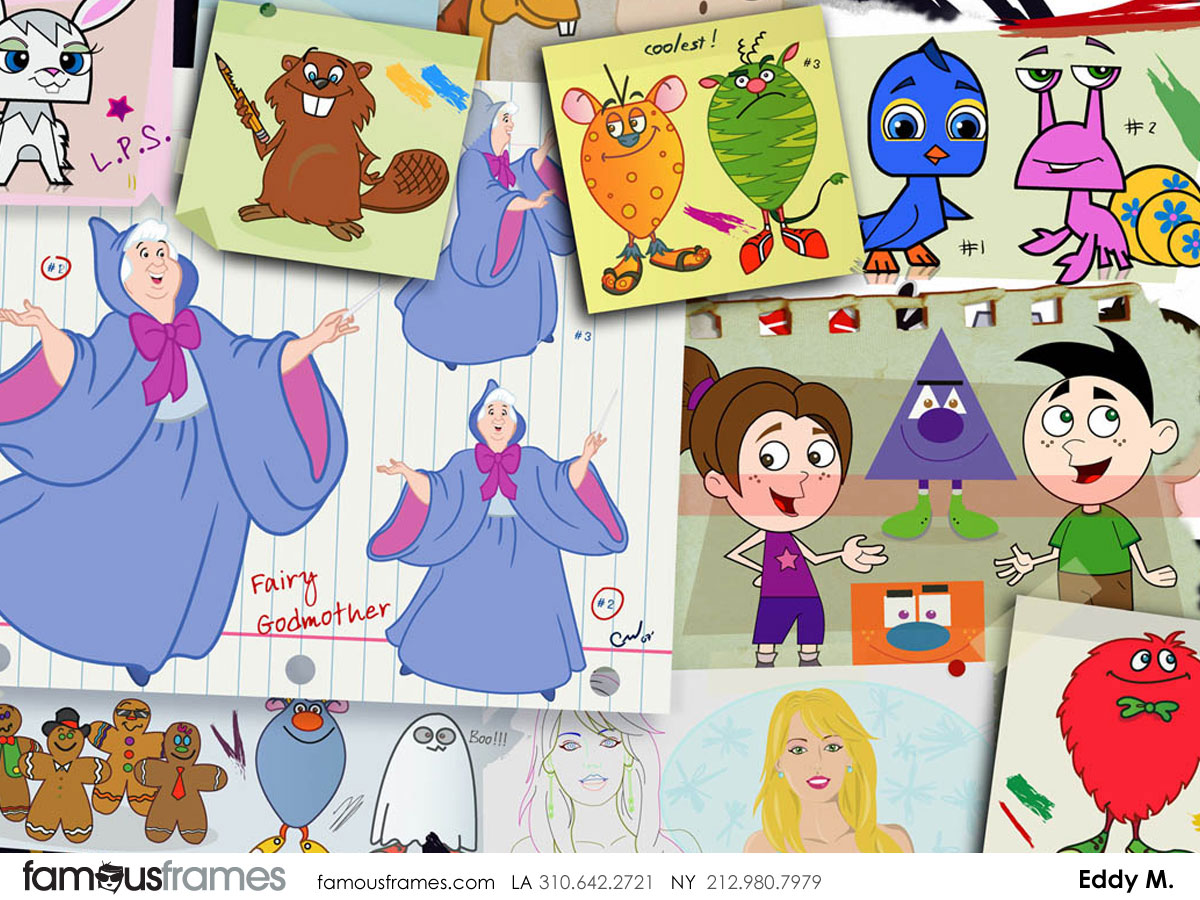
Leave it to Walt Disney and his crew to unknowingly create a magical way to structure an E-learning class. In the early 1930s, a Disney animator created the first storyboard in history by tacking up individual comic scene pictures to the office walls, instead of explaining them to his design team with words. This ingenious idea allowed the design team to see every facet of the comic in a clear and detailed way. The pen-to-paper storyboard model tacked up on an office wall has morphed a lot in ninety years. Fast-forward to 2020, and current technical gurus cannot imagine an online educational world without the use of modern storyboarding.
What exactly is a storyboard?
It is essentially the road map for a course being taught, showing all the intricacies of the class in an organized manner. The scheme is developed using design principles for best practices in engaging a learner. It includes pictures, maps, infographics, and even animations to serve as the framework for the class. It also provides screen text and voice-over text needed for the class to understand each of the important concepts being taught. And as with any map, the more detailed, the better, to get the learner exactly where you want them to be.
Why are storyboards so important in e-learning?
Storyboards are essential to flesh out the lesson and to make sure you understand what each lesson will look like before it is presented. Additionally, storyboards aid in teamwork so that all members associated with the project easily understand what is going on. Just like the quick sketches in Disney’s office long ago, a storyboard helps the entire team understand the project and have a say in its outcome.
Although storyboards seem like they are tedious time-suckers, they save time in the long run because they help the team troubleshoot the lesson in advance, and ensure that by the time the students get to the class, all the kinks are worked out, and learning will occur without any hassles.
Here are 13 tips on creating the best eLearning storyboards:
Know your audience
As with any undertaking in the educational or business world, you need to know who you are teaching so that you can best get your point across to that particular group of people. By considering their age, educational status, and even gender, you can feel how they best learn. For instance, you may want a learning friend to follow the learners throughout the class, or you may use popular phrases or fun transitional slides to maintain learner attention. Adding some fun elements to engage the audience and keep them learning through the module is always a good idea. Considering the age and type of student will help you create a storyboard that keeps them engaged throughout the learning process, and leads to the best possible learning outcomes for the class.
Know the goals of the class
Speaking of learning outcomes, you need to know where your lesson is going to help your students get there. Like any good map, a storyboard tells you how to get where you’re going. But fundamentally, you first need to know where that is! Understanding the goals of the class before you begin building the storyboard is essential for success. What are the learning outcomes you expect a student to know after experiencing this lesson? These should be clear. If you know exactly what students need to know, you will have a better knowledge of the scope of the project and how many slides you need to accomplish the learning objectives. Also, you will be able to chunk the material appropriately and avoid cognitive overload, putting too much information in one place. Goals should be concrete, attainable, and clear for all the stakeholders.
Begin with the end in mind
Although it seems counterintuitive to work backwards, understanding what the students will have to produce by the end of the lesson helps your lesson to be more focused. What will your assessment be? You need to know going in how many quizzes, surveys, journals, or other assessments are required, and where they will be placed in the lesson. By understanding these assessments in advance, you can logically build an experience that meets the needs of the students for each milestone that they need to hit. This also makes it clear what is learned and how you can prove that knowledge.
Choose an instructional technique
There are two basic techniques encountered in the e-learning world: linear and branching. Most e-learning storyboards feature a direct approach to the information. Learning is presented in sequential order and follows one storyline. Branching can be used if students need to dive deeper on a particular topic, or if they are given choices in what exactly to learn. Another branching scenario is that depending on an answer they give; students are led to a different place for reteaching or enrichment. Knowing if you are using the more complicated branching technique will help you focus your work throughout the process, and keep you in tune with smaller details like transitions and fun facts of information.
Utilize a storyboard template
Although you could build your storyboard from the ground up, that would be a painstaking and unnecessary process. Many well-made, free storyboards already exist for you to use. You just need to decide if you want it to be a Word-based or PowerPoint-based version and take it from there.
Write content
Obviously, this is a big job. Make sure you understand what each learning objective entails. You will need to write with an informal, casual tone to explain the information. Keep your audience in mind when you choose vocabulary and sentence structure.
If you lose your audience with phrases they don’t understand, it will be nearly impossible to get them back. Take care to define terms, write with imagery so that students can understand more clearly what you are talking about, and keep their age and educational status in mind when you present material.
Organize content for a natural flow
Dividing your information into modules or segments is necessary to help with the sequencing of the lesson and keep your students engaged. Make sure all information is gathered together with like knowledge, and that you are presenting it in the most logical way for learning to occur. Students shouldn’t have to backtrack or wonder how information fits together. The structure should be apparent.
Choose multimedia examples
The more senses you engage in an activity, the more you will learn. By adding interactive maps, animations, or videos, you will be getting more feelings involved for your students, and a higher level of learning will surely follow. Be careful, though, that you aren’t just using “all the bells and whistles” for no reason. Each choice of animation or video should be grounded in a curricular choice and should be a good use of the student’s time. They not only need to be engaged but engaged in the right information that will help them to learn.
Add the pesky details
Decide where your navigation buttons will be and how students will move throughout your modules. A quick drawing and placement of elements on the page will help you in the long run as you plan out your storyboard. Storyboarding is a front-loaded activity. By handling small difficult questions early in the process, the outcome will be sharper and more focused on the learning outcomes.
Write the voice-overs
Decide what will be said out loud, and how that will flow as students move sequentially through the module. This is an excellent time to think about who will be talking, and choosing someone with a pleasing, engaging voice will help the cause. In general, there will be more spoken aloud than is printed on the screen.
Write screen text
The words that appear on the screen in any lesson are of paramount importance. Not every piece of information needs to be included, especially since there is a natural saturation point to learning, and you need to be careful not to overload the learners. This is called cognitive overload. Consider what is being spoken in the voice over and what will be read from the screen, and make sure you are not overwhelming the students.
Choose an authoring tool
Although not everyone on your team will have to use the authoring tool, it is a good idea to choose a system that is satisfactory for all involved. The authoring tool is essential because this is what can create branched learning sequences, randomized quizzes, and other interactive slides and scenarios. Choosing the right authoring tool will help you create a successful storyboard. Articulate Storyline and Adobe Captivate are two tools that can lead you to success.
Include transitions to next and previous lesson
Your lesson will not exist in a vacuum. It is a good idea to begin a lesson by alluding to the teaching that came before. A quick summary or recap of the key points is a great idea. Additionally, adding a tagline at the end of a lesson that explains what will come next helps learners stay organized and understand how their learning fits into the larger scheme of things.
Although the job of storyboarding may seem daunting at first, following these simple steps in the creation of your storyboard will lead you and your team to create your magical lessons for your eager learners. Doing so helps them experience ¨the happiest lesson on earth” and meet the learning objectives with ease!

